

From podcast rants to bedroom acoustic sets, your voice deserves better than a laptop mic. Sound quality can make or break a recording, and that’s a fact. Think of it like Instagram filters for your voice—except instead of smoothing blemishes, you’re clearing up muddy tones and banishing background noise. After wading through a sea of gear and enduring enough audio demos to make ears bleed, these tips actually deliver. Get ready to transform your sound from “meh” to “mic drop”—because life’s too short for tinny audio.
1. Position Your Mic Like You Mean It
Distance and angle matter more than your fancy foam windscreen.
Most people treat microphones like they’re handling something fragile—either backing away like it might betray them or getting so close they’re practically making out with the grille. The sweet spot sits about 6–8 inches away from your mouth, angled slightly off to the side to dodge those harsh plosive sounds. Anyone who’s ever heard someone breathe directly into a mic knows that intimacy has its limits.
This positioning trick works because it captures your voice’s natural tone without picking up every mouth click and breath. The slight angle prevents those “p” and “b” sounds from turning into mini explosions while keeping your voice clear and present.
2. Kill the Room Noise Before It Kills You

Your recording space is either your best friend or your worst enemy.
Hard surfaces bounce sound around like a pinball machine on Red Bull, creating that hollow, echoey mess that screams “amateur hour.” Soft materials absorb sound reflections, so drape some blankets around your recording area or record in a walk-in closet full of clothes. The makeshift studio approach might look ridiculous, but it sounds professional.
Room treatment doesn’t require spending your rent money on acoustic panels. Heavy curtains, couch cushions, or even recording under a thick comforter can tame those unwanted reflections that make you sound like you’re broadcasting from a bathroom.
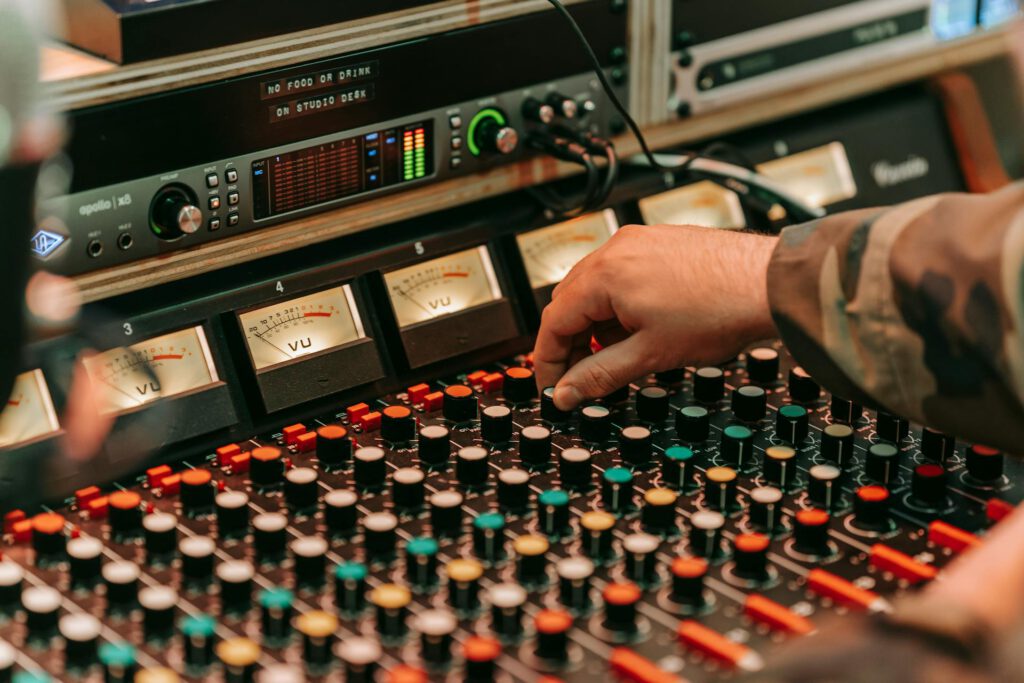
3. Master Your Input Levels
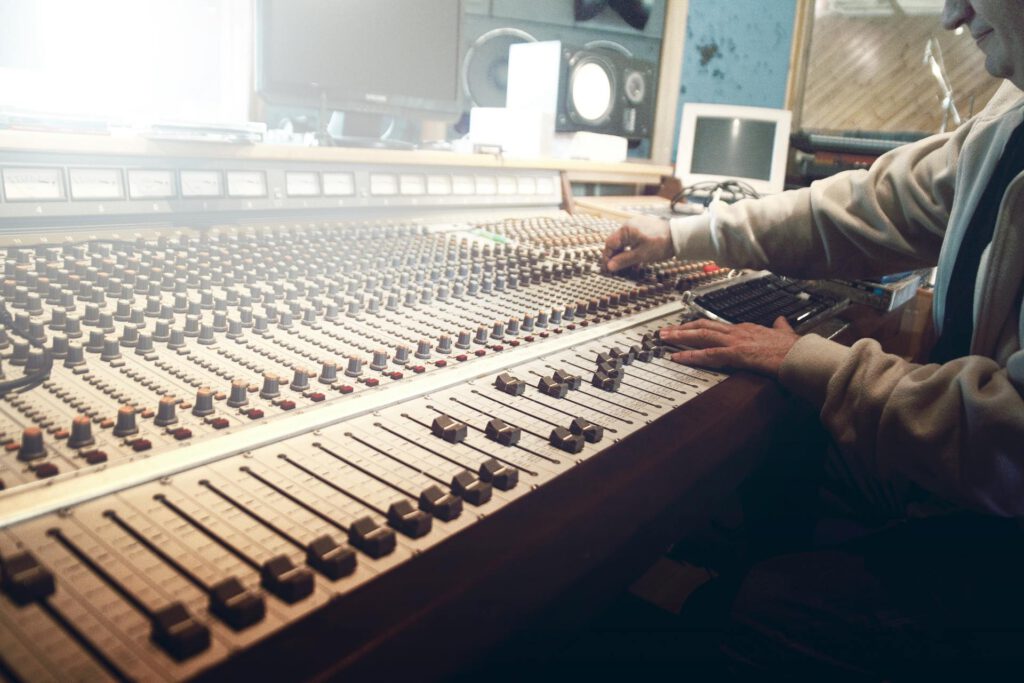
Too quiet gets lost in noise; too loud gets crushed by distortion.
Your recording levels should peak around -12 to -18 dB, leaving plenty of headroom for louder moments without clipping. Think of it like cooking—you can always add more salt, but you can’t take it back once you’ve over-salted the dish. Recording too hot creates distortion that no amount of post-production magic can fix.
Watch your input meters while recording and adjust your mic gain accordingly. Most audio interfaces and recording software display these levels in real-time, so there’s no excuse for ignoring them until it’s too late.
4. Use a Pop Filter or DIY Alternative
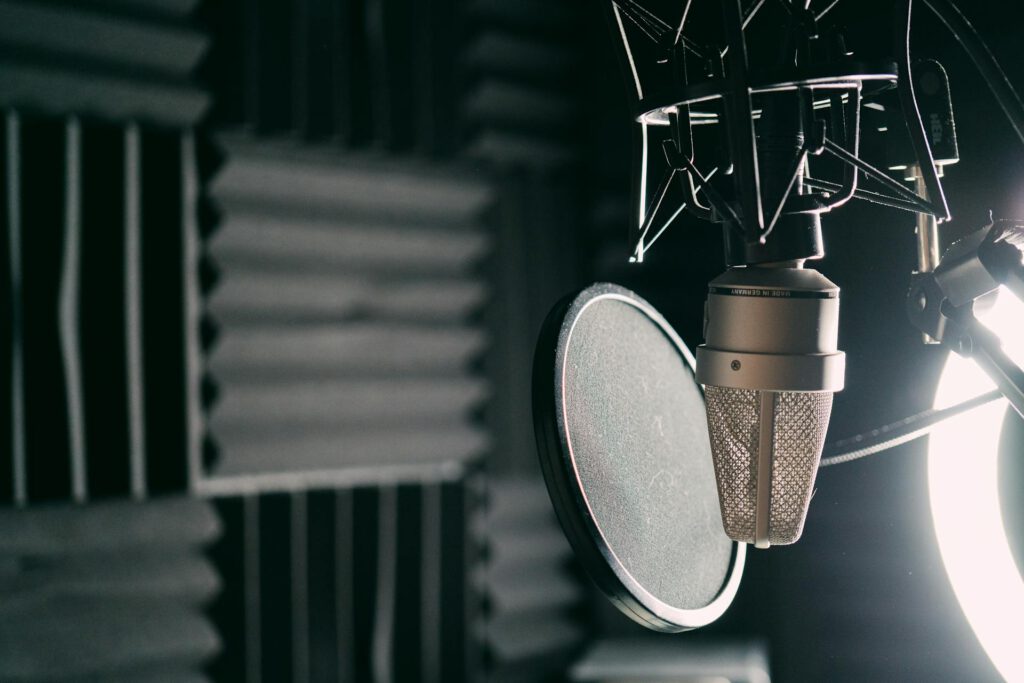
Those explosive consonants need a bouncer at the door.
Pop filters catch those burst of air that turn your “p” sounds into sonic booms. The mesh screen breaks up the airflow before it hits your microphone’s diaphragm, preventing those low-frequency thumps that sound like someone’s knocking on your audio’s front door.
No pop filter? Stretch a clean sock over a coat hanger bent into a circle, or record slightly off-axis to your microphone. These budget solutions work surprisingly well—your wallet and your listeners will thank you.
5. Clean Up Your Signal Chain
Every connection point is a potential problem waiting to happen.
Check your cables, audio interface, and recording software settings before hitting record. A loose XLR connection can introduce crackling, while incorrect sample rates create digital artifacts that make your audio sound like it’s coming through a broken radio. Quality cables matter more than most people realize—that bargain bin XLR cord might save money upfront but cost you in audio quality.
Set your recording software to at least 44.1 kHz/16-bit for decent quality, or 48 kHz/24-bit if you’re feeling fancy. These settings give you enough resolution to capture your voice clearly without creating unnecessarily massive files that eat up storage space.