
Professional drummers hide this secret from students all the time. The real difference between amateur and pro playing comes down to just two inches of hi-hat technique. This small metal instrument actually reveals more about your skill than any flashy solo ever could.
Top players quietly practice these moves behind the scenes while letting everyone believe they’re just naturally gifted. Their distinctive sound isn’t magic though—it comes from deliberate technical choices that anyone can master with the right guidance.
You can start sounding like the pros much sooner than you think. The Flick Trick and Shank Tip Technique deliver immediate results no matter what style you play. These approaches build versatile skills that work equally well whether you’re into jazz, rock, funk, or even metal.
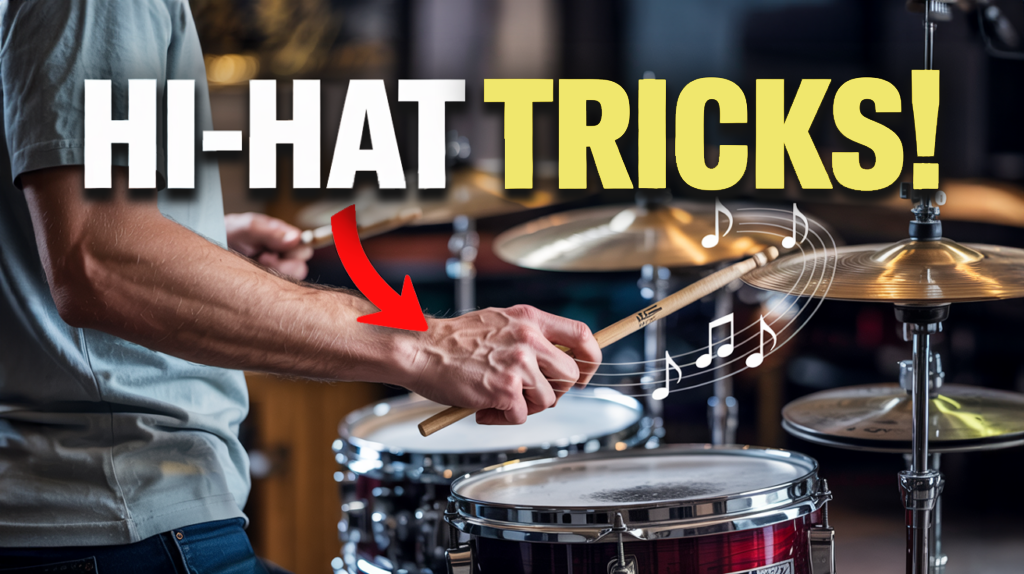
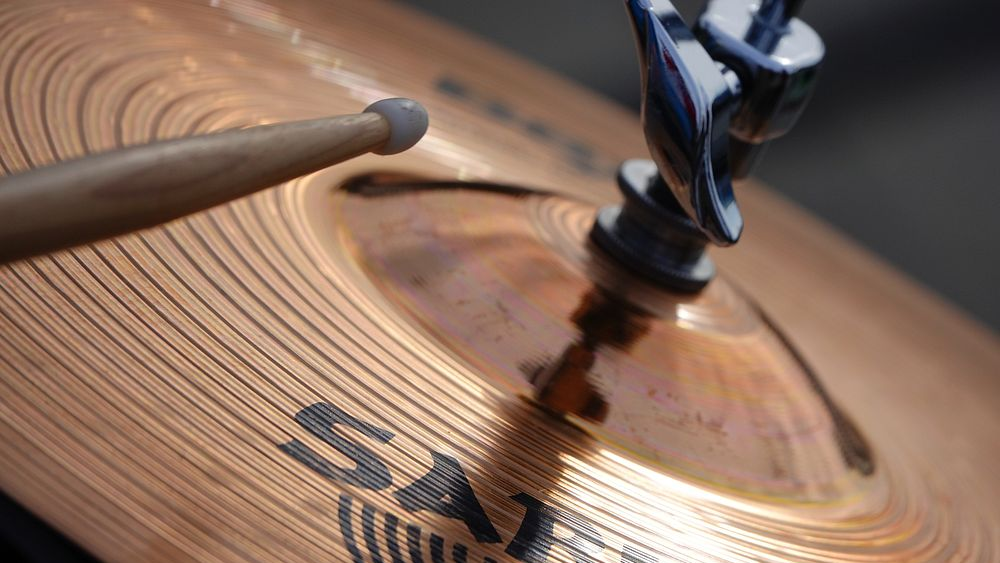
12. The Hi-Hat Technique

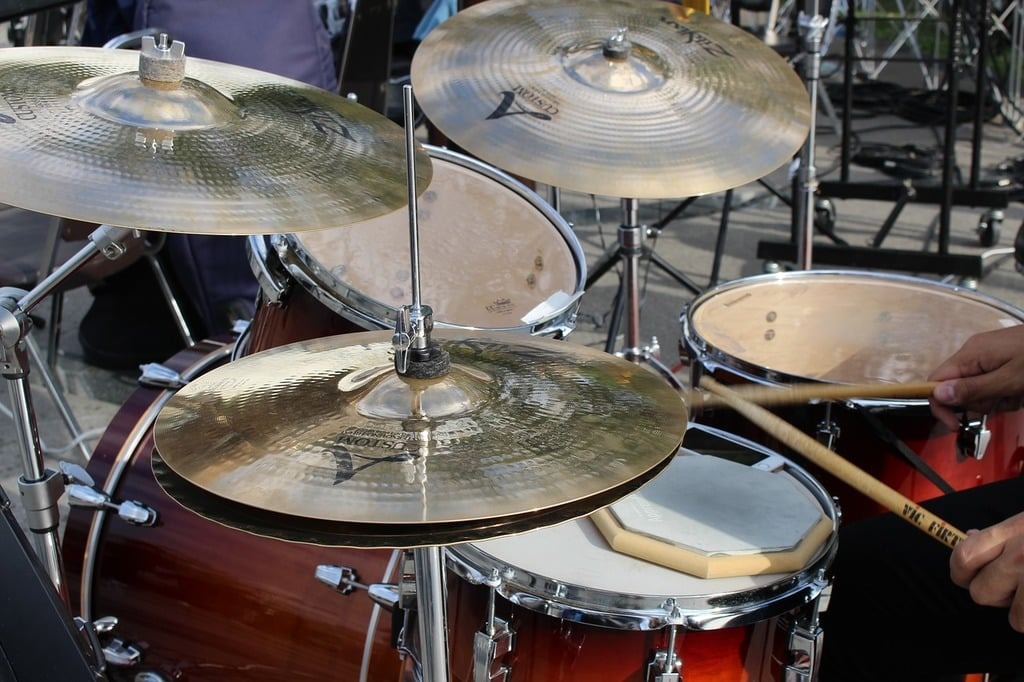
A mere 2-inch adjustment in hi-hat technique separates amateur drummers from professionals in any genre. Those small metal cymbals define a drummer’s unique style. They transform basic beats into rich soundscapes with just a few subtle moves.
Most drummers obsess over flashy fills or blazing solos. But real masters know hi-hat control separates good drummers from great ones. (And yes, this is one of those boring-but-true drumming facts that teachers nag about for a reason.)
Two specific techniques can transform your drumming overnight. The Flick Trick and Shank Tip Technique aren’t just fancy names—they deliver results. Each approach builds skill that works across any style from jazz to metal.
Ready to stop sounding like everyone else? These techniques are what top drummers quietly rely on while letting everyone think they’re just naturally gifted. Spoiler alert: they practice these moves religiously.
11. The Flick Trick: Fundamentals
Boring hi-hat patterns plague even experienced drummers, but the Flick Trick transforms this weakness into a signature strength with minimal effort. It adds ghost notes using just a tiny wrist motion. Your sound instantly gains depth through these subtle touches.
The real genius lies in efficiency. Your weak hand stays put, ready for snare transitions. This creates intricate patterns without excessive movement—like threading a needle while wearing oven mitts, except you actually can do this one with practice.
Common Mistake: Too much wrist movement creates uneven sound and wonky timing. Focus on tiny movement—just 1/4 inch. Record yourself to check consistency between regular hits and flicks.
Practice Tip: Start at 60 BPM with simple quarter notes. Add one flick on beat “4+”. Forget about speed—clean execution matters more. Only speed up after a full minute of consistent playing.
That student who can’t figure out why she sounds amateur despite playing all the right notes? Usually just missing these little technique gems that pros take for granted.
10. Practical Application of the Flick Trick
During that crucial chorus when your band should sound massive, the Flick Trick delivers the rhythmic texture that turns good performances into memorable ones. The technique especially shines at the end of a measure. (No one talks about this at drum clinics because it seems too simple—their loss.)
Adding a subtle accent on the “uh” of beat four creates what drummers call a “pull.” This rhythmic tension hooks listeners deeper into the groove. Best part? Your existing patterns stay intact. The Flick Trick just enhances what you already play.
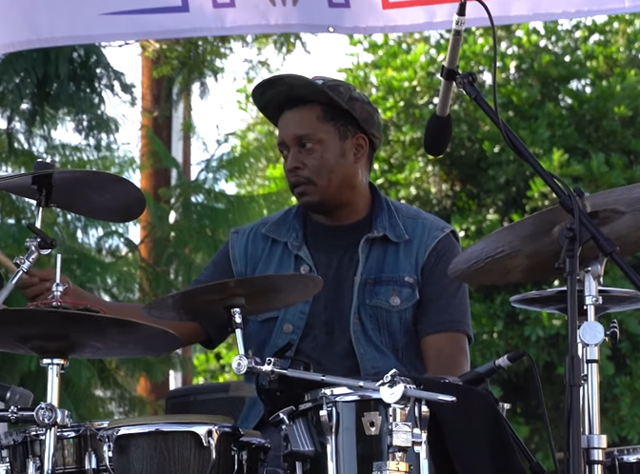
The technique slides into basic rock, funk, or jazz beats without disrupting your flow. Check out drummers like Questlove or Steve Jordan. Their subtle hi-hat work creates forward momentum while keeping rock-solid time. That’s not magic—it’s technique you can learn.
Genre Application: Funk needs flicks between main beats. Jazz works with flicks on beats 2 and 4. Rock benefits from a single flick before beat one for anticipation.
Mastery Path:
- Week 1: Basic isolation practice
- Week 2: Simple eighth-note patterns
- Week 3: Integration with existing grooves
- Week 4: Bass drum combinations
9. Why the Flick Trick Works: Technical Advantages
The Flick Trick’s minimal movement approach creates cleaner transitions while reducing fatigue during long performances. This matters more than most drummers realize until they’re three hours into a four-hour gig.
Moving your hand across your body creates excess motion. This leads to timing errors and slower transitions. The Flick Trick minimizes movement while maximizing musical output. Pro drummers quietly prioritize this efficiency above most other techniques.
The technique also prevents stick collisions. This matters when adding complex patterns in tight timing windows. Clean sound production becomes crucial in recording situations when engineers start giving you that look.
Finally, you get a unique sound profile—similar to a snare ghost note but with hi-hat character. This expanded palette creates more expressive grooves without changing your setup or buying expensive new gear.
Pro Insight: “Sometimes less is more. The Flick Trick taught me that efficiency creates better musical results than complexity for its own sake.” – Steve Gadd, legendary session drummer
8. Ultimate Flick Trick Beat: Measure 1
Measure 1 of the Ultimate Flick Trick Beat strategically positions ghost notes to create forward momentum without disrupting your groove’s foundation. It’s like discovering the secret sauce in your favorite restaurant’s signature dish.
In Measure 1, beats one and two feature kicks with open hi-hats. This builds a strong foundation. Beat three brings closed hi-hats plus a snare hit, establishing the essential backbeat.
Here comes the magic—on the “uh” of beats three and four. Two quick flicks add texture and momentum. These complete the measure’s character without overcomplicating things.
Notation for Measure 1: 1: Kick + open hi-hat 2: Kick + open hi-hat 3: Snare + closed hi-hat 3+: Hi-hat flick (ghost note) 4: Closed hi-hat 4+: Hi-hat flick (ghost note)
Troubleshooting Tip: Timing issues? Speak the rhythm: “ONE, TWO, THREE-uh, FOUR-uh.” Record yourself with a metronome. Listen specifically for ghost note placement. (And don’t worry—everyone sounds weird talking drum patterns out loud.)
7. Ultimate Flick Trick Beat: Measure 2
If you’re striving for dynamic contrast in your grooves, Measure 2 delivers the perfect balance of consistency and subtle variation. It builds on what you’ve learned but adds new layers to the conversation, focusing on contrast rather than just keeping time.
Your dominant hand maintains consistent eighth notes for stability. A single strategic flick on the “e” of beat two creates subtle anticipation—like that moment in a thriller movie right before something important happens.
Three ghost notes finish the groove with an intriguing rhythmic tail. These lead perfectly back to measure one, creating a seamless loop. The pattern thrives in pop, rock, and funk contexts where groove matters more than technical showing off.
Learning Strategy: Master each measure separately at 70 BPM. Only combine them after playing each confidently for 8 repetitions without mistakes. Building muscle memory this way works better than tackling everything at once.
6. The Double Plus Flick Trick: Advanced Applications
The Double Plus Flick Trick instantly places you among the top 10% of drummers who can create complex textures without sacrificing groove. This advanced technique delivers exactly what most players hunt for—sophistication without excessive complexity.
This technique combines two moves: your dominant hand plays a double strike, then your weak hand adds a flick. When performed as 16th note triplets, it creates unique syncopation that perks up listeners’ ears.
This works particularly well at phrase endings or during transitions. It acts like punctuation in your rhythmic sentences.
Sound Example: Think R&B and neo-soul triplet feels. Listen to Chris Dave with D’Angelo or Questlove with Erykah Badu. The Double Plus Flick creates similar tension using more efficient hand technique.
Application Tip: Use sparingly for maximum impact. Try it at the end of 8-bar phrases or before chorus transitions. Overusing it just makes you that annoying drummer who won’t stop showing off their one cool trick.
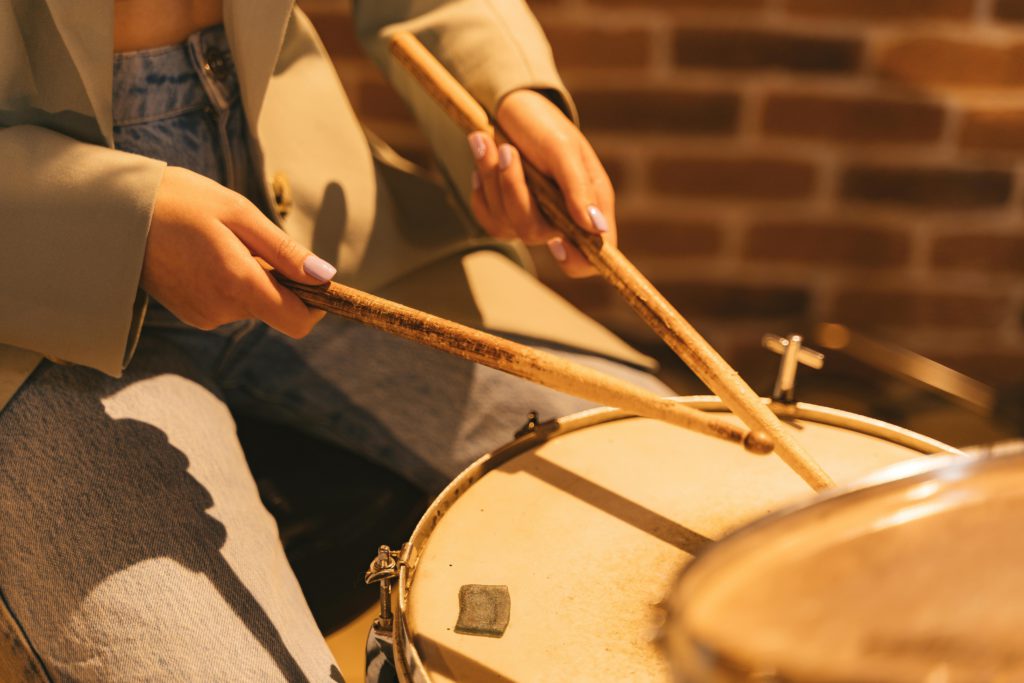
5. The Shank Tip Technique
One-dimensional hi-hat sounds limit your expressiveness, but the Shank Tip Technique creates rich tonal variations with just a simple grip adjustment. This approach evolved from jazz drummers in smoky clubs into a cornerstone of modern playing, refined by players like Todd Zuckerman across various genres.
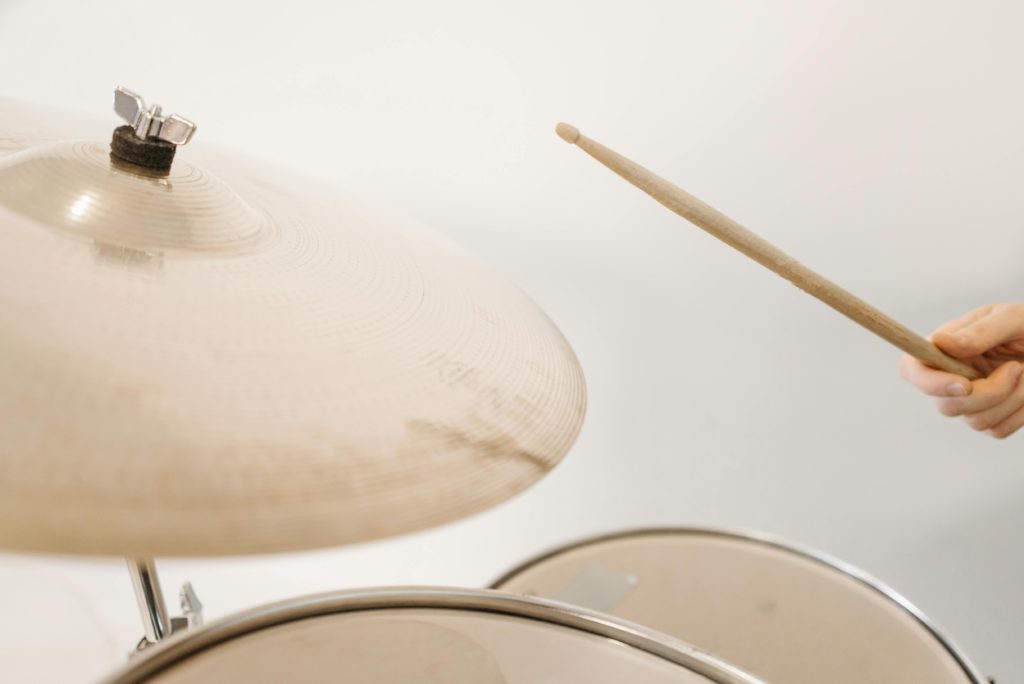
This approach uses two contact points: the stick’s shoulder (shank) hits the hi-hat’s edge while the tip strikes the top. This dual contact creates rich textures that single strikes can’t match—like getting surround sound instead of mono.
Beyond better sound, this technique strengthens your overall 16th note lead hand technique. It improves speed and control across your entire kit.
Physical Setup: Position hi-hats slightly lower than normal—around waist height. This angle enables shank contact without wrist strain. Set your clutch firmly enough that cymbals don’t separate too much, but loose enough to “breathe.”
Historical Context: Check out Tony Williams with Miles Davis or Vinnie Colaiuta with Sting. Their hi-hats produce almost two distinct tones simultaneously, creating complex timbre.
4. Mechanics of the Shank Tip Technique

The Shank Tip’s palm-forward technique reduces wrist strain while producing the crisp attack that engineers prize in studio sessions. Start with palm pushing slightly forward, then let wrist come back fluidly. This should feel natural—like shaking water off your hands, but with more control and less mess.
The stick should rest in the crease between thumb and index finger. This grip offers optimal control and stability. It minimizes tension that leads to fatigue or those fun repetitive stress injuries drummers collect like trading cards.
Keep the stick aligned with your forearm throughout the motion. This reduces strain while maximizing impact and rebound for efficient playing.
Video Exercise: Record yourself from multiple angles. Check whether stick stays aligned with forearm. Verify both shank and tip contact the hi-hat. Many drummers accidentally default to single-point contact at first.
Progressive Practice Routine:
- Grip and motion only (30 seconds)
- Practice pad with metronome at 60 BPM (2 minutes)
- Transfer to hi-hat at same tempo (3 minutes)
- Increase by 5 BPM increments (5 minutes)
- Incorporate into simple patterns (5 minutes)
3. Integrating the Shank Tip with Full Beats

When your groove needs to cut through a dense mix, the Shank Tip technique provides the articulation that stands out without overwhelming other instruments. This quality makes it invaluable across diverse styles, especially when combined with complementary bass and snare patterns.
These layered elements create a powerful foundation that elevates entire songs. It’s like upgrading from standard to high-definition—same basic content, dramatically better experience.
Beginners should try the Shank Tip with standard “funky drummer” beats. Its texture enhances the classic pattern without complication. Advanced players can experiment with accent patterns for extended expression.
Mastering both accented and unaccented strokes unlocks tremendous expressive potential. Your playing gains dynamics and character beyond basic timekeeping.
Common Challenge: Coordinating Shank Tip with bass drum patterns feels like patting your head while rubbing your stomach at first. Break it down systematically: hi-hat alone first, then add bass drum on quarter notes, finally incorporate the full pattern.
Studio Application: Engineers love this technique’s distinctive sound. It cuts through mixes better than conventional approaches. This matters in recording situations where hi-hats often disappear in dense arrangements.
2. Hi-Hat Fanning Technique: Visual Performance Enhancement
If you’re looking to captivate audiences beyond just sound, Hi-Hat Fanning creates visual excitement that complements your musical expressions. This technique transforms performances on both levels—making you sound better and look cooler. (Win-win, right?)
This technique involves dramatic opening and closing motions with the hi-hat pedal while maintaining precise stick work. The result creates visual flow that captures audience attention while producing sweeping sonic textures.
Combined with Shank Tip and incorporated into full beats, you create a multi-sensory experience. Your playing becomes more engaging to watch and hear—like adding special effects that actually serve the musical story.
Performance Tip: Save hi-hat fanning for key moments in a performance. Use it during bridges or solo sections. The impact lands harder when used selectively rather than throughout entire songs.
Practical Example: Watch Tony Royster Jr. or Eric Moore videos. They use hi-hat fanning for sonic variety and visual flair. Notice how they time these techniques with significant musical moments to emphasize structure.
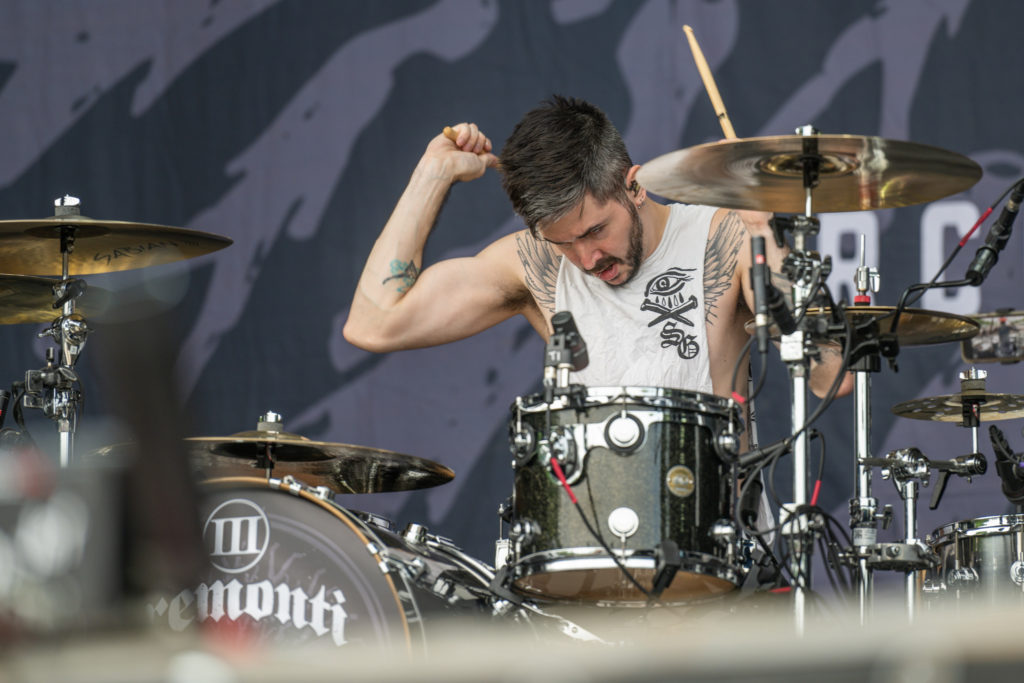
1. Hi-Hat Mastery: Next Steps

The techniques here provide immediate tools to elevate your playing regardless of current skill. They’re the difference between adequate drumming and playing that makes people take notice.
Consistent short practice yields better results than occasional marathons. Spend 10-15 minutes daily focusing on these hi-hat techniques. Record yourself regularly to track progress. Within weeks, these movements become automatic.
Apply everything in musical contexts. Join jams, play with recordings, or bring these techniques to your band. Perfect execution in practice means nothing if it doesn’t translate to real musical situations.
Your hi-hats can become more than timekeepers—they’ll form the distinctive voice of your drumming identity. These simple metal discs might just become your signature sound.