KEY TAKEAWAYS
- GarageBand is a powerful audio recording program that is aimed toward beginners but offers features for experts.
- There are many ways to use it to record acoustic instruments, including XLR cables, direct line-in cables, and USB cables. These methods also work for electric guitars.
- Once you have recorded a track or two, experiment with different plugins and effects to create a guitar sound that is all yours.
If you are new to the world of music production, you may want to learn how to record an acoustic guitar with GarageBand. Many of the best guitars, after all, are acoustic models and these instruments excel when recorded. What is GarageBand, and why use it to record the best acoustic guitars? What are the steps to initially record, and what are some tips to make your recording sound its best? Keep reading to find out.
What is Apple GarageBand?
Apple is known for two music production software applications, Logic Pro and GarageBand. If you are just learning how to connect a guitar to a computer, Logic Pro is the company’s professional recording suite, while GarageBand is aimed more toward amateurs. However, the software is still plenty powerful and will make your instruments sound great, even if you have just purchased the best acoustic guitar for under $200.
In other words, GarageBand has plenty of tools for beginners if you are just learning about guitar feedback. GarageBand also has plenty of tools for experienced users if you are recording with one of the best acoustic guitars under $1,000.
How to Record Acoustic Guitar on GarageBand
GarageBand is aimed toward beginners, so you won’t need too much external equipment to get started. Below is a simple, bare-bones process for getting started. After that, we’ll go over some more advanced tips.
- Difficulty: Intermediate
- Time: 10 minutes to 10 hours, depending on how much music you are making
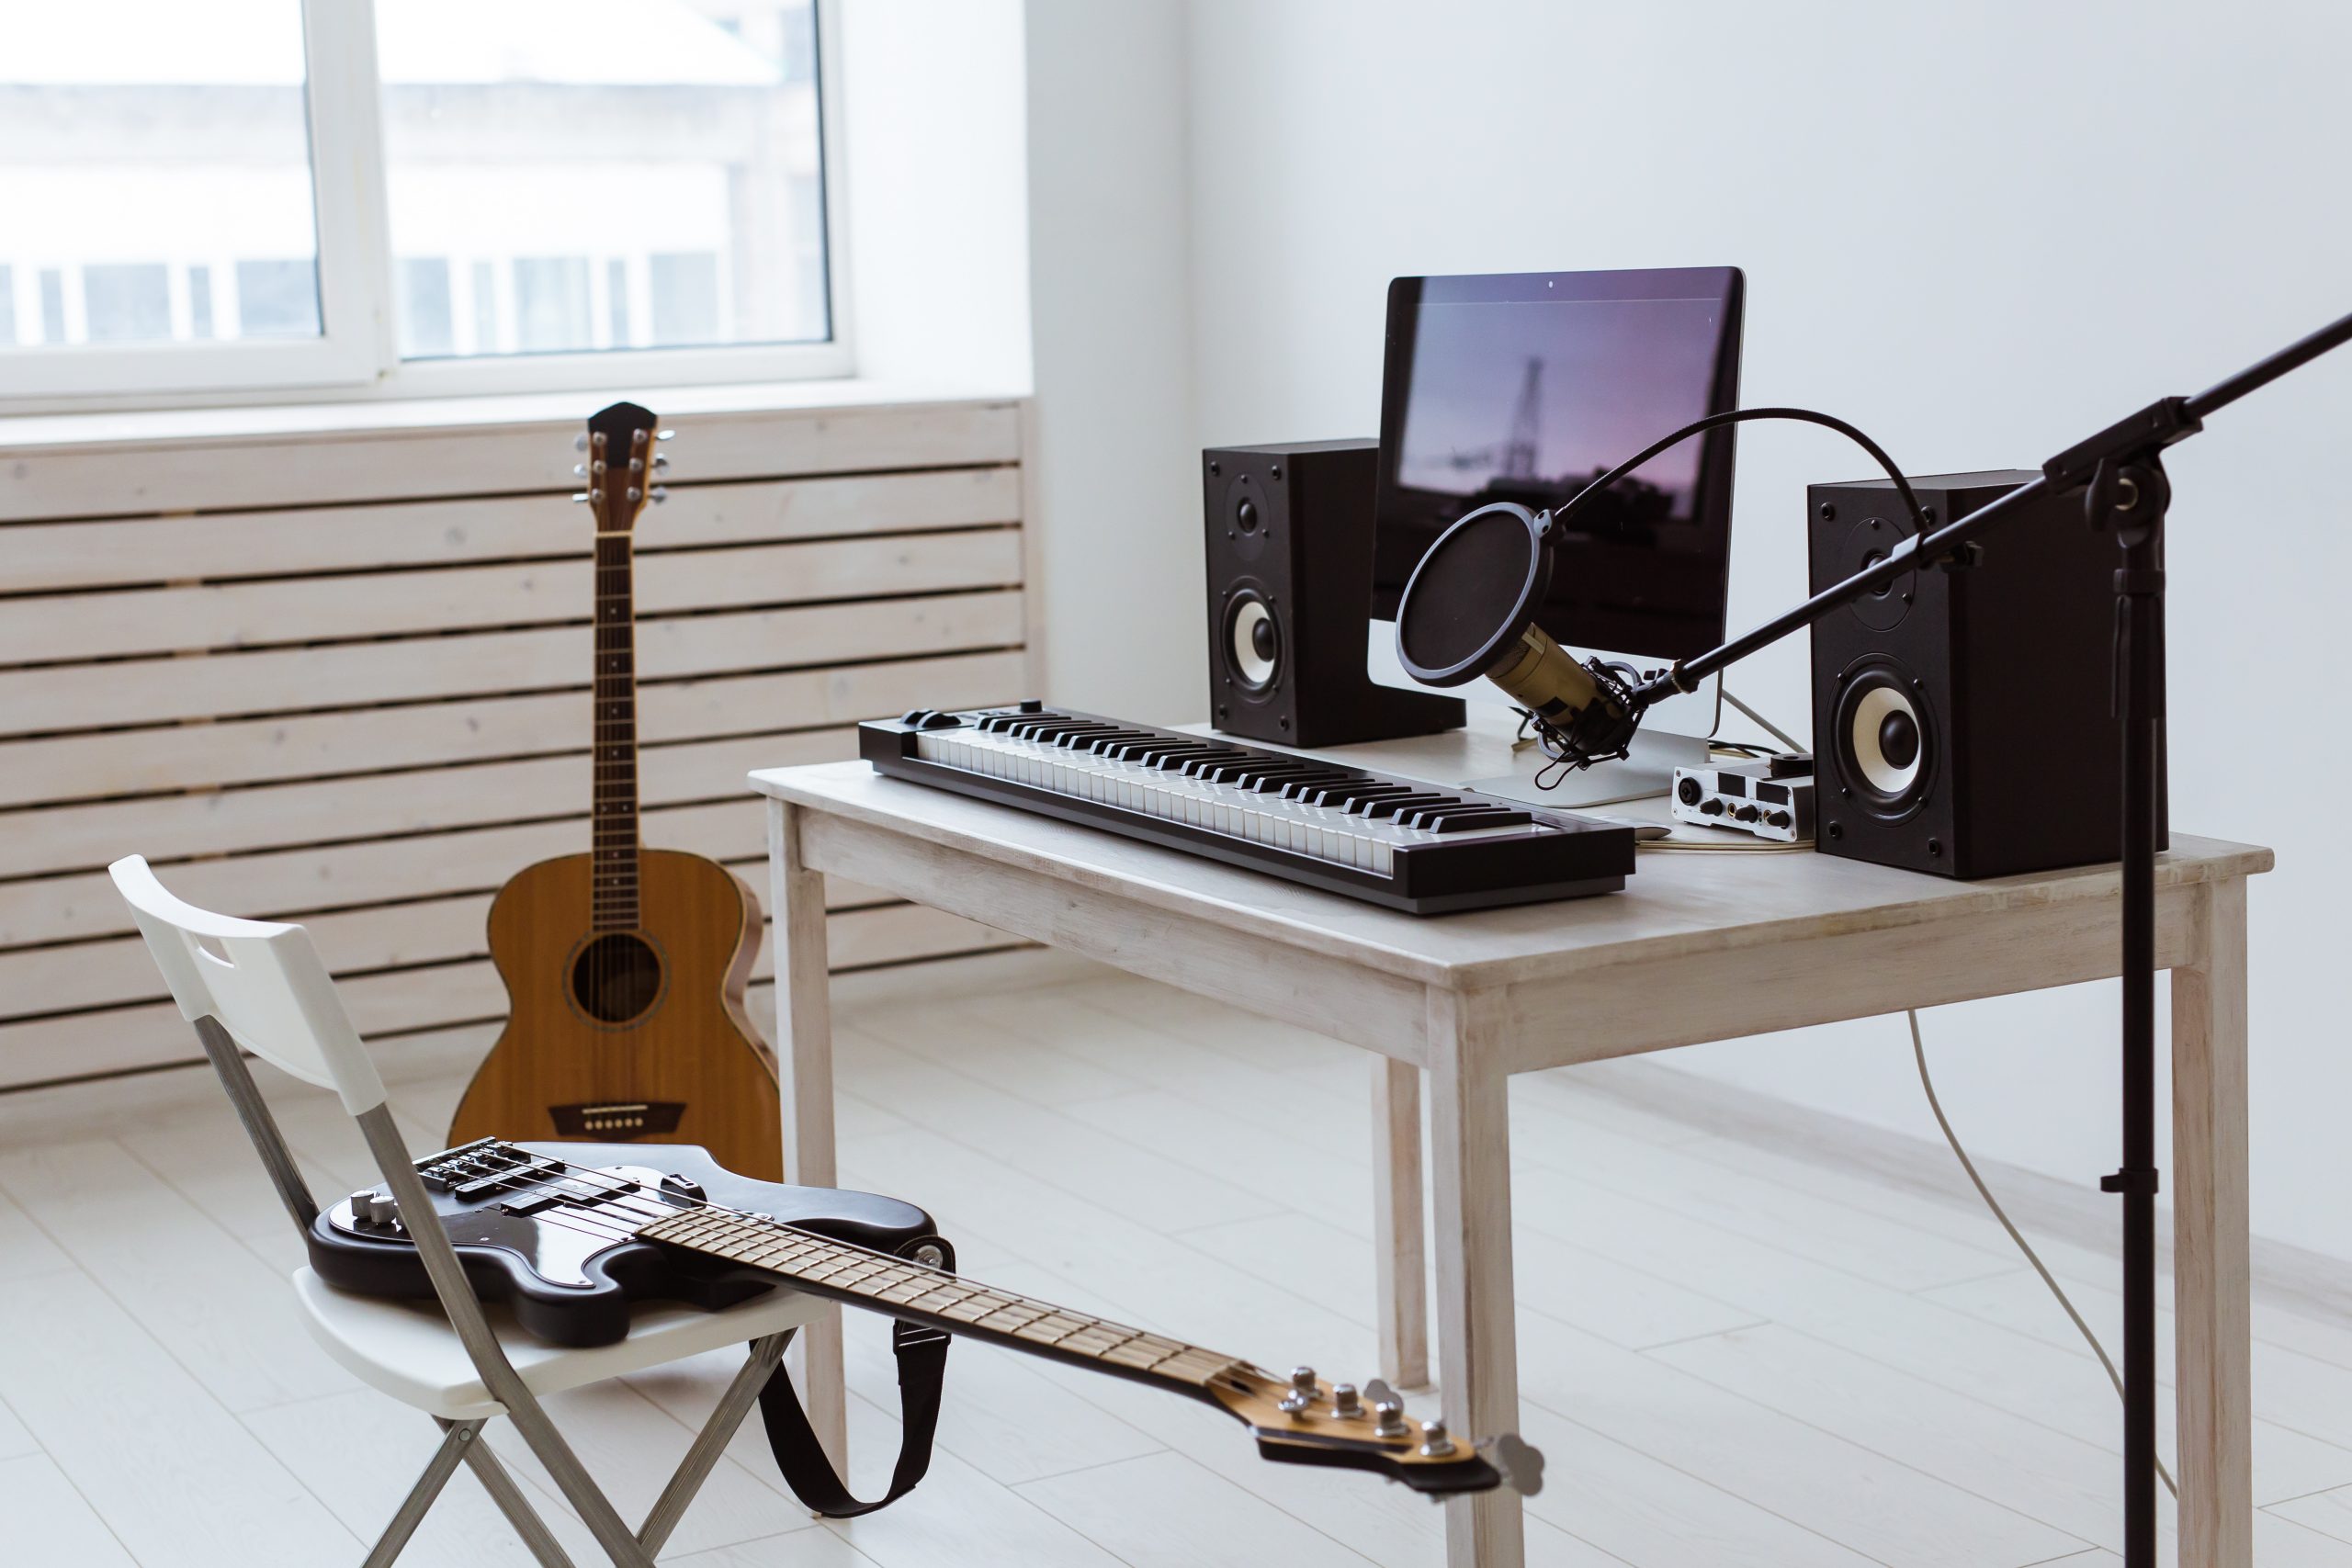
- Tools: Acoustic guitar, microphone, XLR cable or guitar cable, audio interface, headphones, microphone stand.
- Steps: 6
Step 1 – Gather Your Tools
- Let’s talk gear. You need, first and foremost, an acoustic guitar of your choosing.
- If your guitar has a pickup, such as an electro-acoustic model, you can record without an external microphone. If it is a standard acoustic guitar, you will need a microphone of some kind. Dynamic mics or condenser mics work well here. If you are just starting out, go for something simple and budget-friendly. Another option is a USB microphone, which plugs right into one of the ports on the computer, so you won’t need an audio interface.
- You also need an audio interface. This is a device that captures an analog musical signal and transforms it into a digital signal that is appropriate for the software. GarageBand does, however, allow you to use the computer’s built-in microphone for recording, but the results will not be so stellar.
- Finally, you need a cable or two. The audio interface will include a USB or lightning cable to connect to the computer or related device. If you are using a microphone, you will need a standard XLR cable. If you are going directly from the guitar’s pickup, you need a standard guitar cable.
Step 2 – Make Your Connections
- Now it’s time to start setting everything up. Plug the audio interface into the computer and power it on. You will likely have to download and install the driver software, so do that. Follow the instructions that accompanied the interface if you get lost.
- Plug the microphone into the male end of the XLR cable, with the female end going into the audio interface.
- If recording with a pickup, plug the guitar cable into the line-in input of the audio interface.
- If recording with a USB mic, plug the USB cable into one of the computer’s available ports.
Step 3 – Adjust GarageBand Settings
- Open up GarageBand and make sure the audio interface or USB port is set as an input device for recording.
- GarageBand is extremely user-friendly, and this should happen automatically, with no user input, but that is not always the case.
- Head into “Preferences” and click on the audio interface or USB microphone as an input source.
Step 4 – Arm a Track and Test Levels
- Create a new project by choosing “Empty Project” from the file menu.
- For track type, choose “Audio Track.” The other types are useful for software instruments and the like. Experiment with those later.
- Make sure the track is armed via the input monitoring feature. Select “Configure Track Header” and look for a checkmark next to “Input Monitoring.”
- You will see a level meter. If everything is connected correctly, you should see shifting levels depending on how much noise the microphone is picking up.
- Test this by talking into the microphone.
- If you are not getting any sound or movement, check the connections and the input source.
Step 5 – Arrange Your Microphone
- Now the fun begins. You have an active signal, so it’s time to move the microphone around to find the best spot for it.
- There is no “correct” way to properly mic an acoustic guitar, as it depends on the guitar itself, the microphone, and your personal tastes.
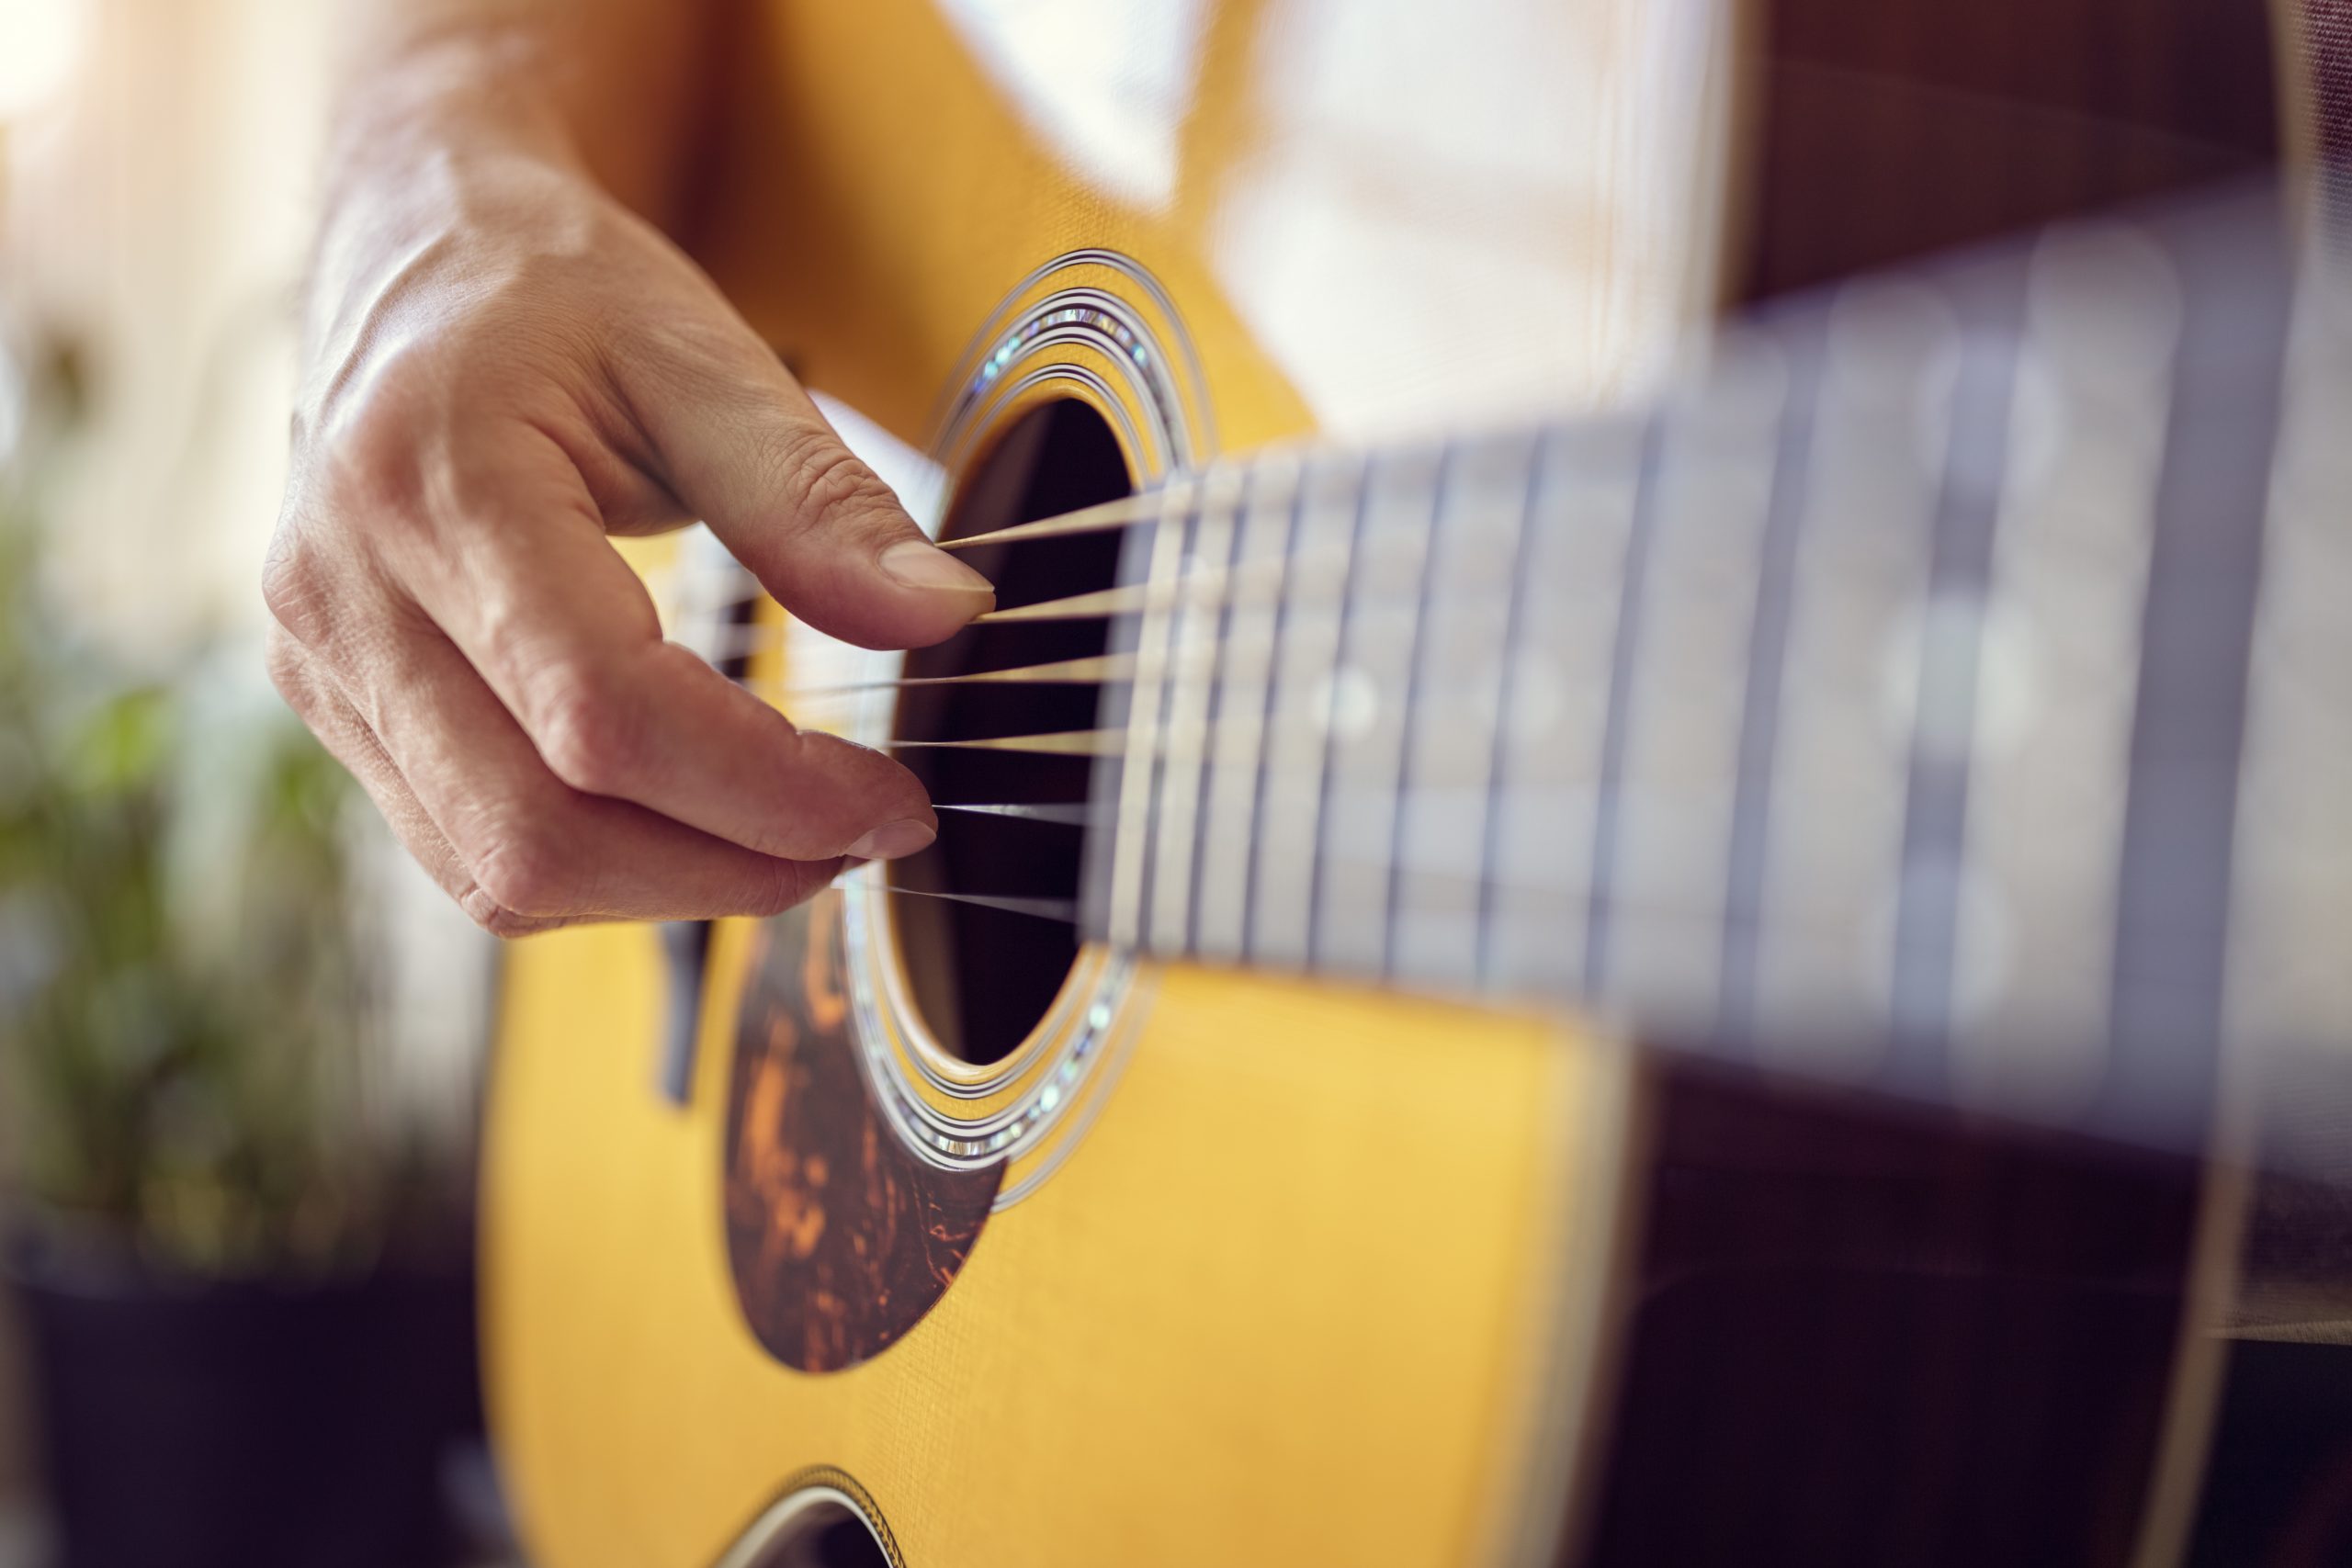
- Having said that, start with the microphone about six inches directly in front of the sound hole and move it up and down the fretboard to experiment.
- Wear headphones for this, as you will be able to hear what the microphone is picking up in real time, so you can make better decisions.
- A good microphone stand is also helpful here, as it will allow for a more advanced position.
Step 6 – Record the Guitar
- Do you see the big red record button? Push it to start recording!
- It will give you a click-in to start, though this can be disabled in the settings.
- Additionally, it really doesn’t matter how long you take to reach the guitar, as you can always delete the “dead air” later on.
- Finally, the settings also include the option to turn on or off a metronome. This is up to you and your playing style.
Tips to Make the Best Acoustic Guitar Recordings
Now that you know the basic steps to record an acoustic guitar, here are some slightly more advanced tips for squeezing the best sound out of GarageBand.
Add Effects
GarageBand may have started as a tool for beginners, but it has grown to become a full-featured audio production suite. As a matter of fact, many of the stock effects and plugins that Logic Pro is known for are also included with GarageBand. The program has some truly fantastic reverbs, delays, distortion options, and so much more. Don’t be afraid to experiment, as it is truly simple to remove the effect once you add it. Of note, try adding a compressor if you find that the volume levels of the guitar fluctuate too much during the recording.
Try Different Mic Placements
Microphones are made to be fiddled with, so experiment with different placements to impact the overall sound. Try affixing the mic directly in front of the sound hole or going far away for some natural room reverb. You can also mic below the sound hole or near the tuning pegs for unique sounds. Nothing is off limits here, and you never know when you are going to stumble onto an excellent sound that adds some uniqueness to your recordings.
Experiment With the Audio Interface
If you opt for an audio interface-based recording scheme, you can adjust various parameters on the interface itself to affect the sound. Each interface is different, but you may have access to an equalizer, a built-in compressor, and various volume knobs. You may be able to also create a natural distortion by turning the input knob and the volume knob near the bottom all the way up. Again, don’t be afraid to experiment.
Amp Designer and Pedal Board
These are technically effects but deserve a special mention here. GarageBand’s Amp Designer and Pedal Board are extremely powerful and useful for creating a vast array of diverse sound palettes. They mimic guitar amps and pedals, so you can instantly turn your acoustic guitar into an electric one. You can turn these effects on when you record or after the recording, with both options useful in different scenarios.
Add More Tracks
Don’t forget the most important tip of all. Add more guitar tracks, vocal tracks, bass tracks, virtual instrument tracks, and whatever else you want to finish the song.
Record Acoustic on GarageBand FAQs
How to use real musical instruments with GarageBand on your iPad?
You can purchase and use an adapter to record acoustic instruments to an audio track as part of your iPad-focused recording setup. Once connected, the recording process here is simple.
How to record acoustic guitar on your iPhone?
You can purchase an adapter that connects your input device or condenser mic to your phone’s lightning port. This will allow you to create a recording setup for portable recording, complete with on-the-go recording levels.
Ready to get better at guitar, faster?
Practice makes perfect, whether you are playing electric guitar or recording an acoustic through an input device via a condenser mic. It may seem to move slowly at first, but sticking with it reaps rewards. Once you build your skill over time and become an expert musician or professional, you may want to consider investing in some of the top guitars on the market today, like the model we discuss in our Gibson SJ 200 review.
STAT
“GarageBand was developed by Apple under the direction of Dr. Gerhard Lengeling. Dr. Lengeling was formerly from the German company Emagic, makers of Logic Audio. Apple acquired Emagic in July 2002.” (source)
TIP: You can also further impact the sound by equipping the guitar with new and different strings.
WARNING: Don’t play too hard, or you are likely to break one of the strings.
———
Sources:
https://www.youtube.com/watch?v=fPq-P49yChc
https://www.youtube.com/watch?v=VC935JhIfJs
https://www.wikihow-fun.com/Record-Acoustic-Guitar
https://audient.com/tutorial/5-essential-tips-for-recording-acoustic-guitar/
https://en.wikipedia.org/wiki/GarageBand
